Host your Agent
Overview
You can self-host your Agent using any hosting stack.
The following guide covers the essential steps you need to take after creating a Warden Agent, but the exact flow may vary depending on your hosting stack.
1. Edit the Agent code
First, configure how your Agent determines its external base URL.
In src/agent.ts, edit the following code:
const AGENT_URL = process.env.AGENT_URL || BASE_URL;
Set process.env.AGENT_URL to the publicly accessible URL of your deployed service. The exact environment variable depends on your hosting provider.
2. Publish the code
Now you need to publish your Agent on GitHub:
-
Create a new repository on GitHub and copy your code into it.
-
Before committing the changes, add your
.envfile to.gitignore.warningNever expose your
.envfile or expose API keys in your repository. When deploying, you'll store all secrets in your hosting provider's settings. -
Commit your Agent code to the repository.
3. Deploy your Agent
To set up a hosting service, take these steps:
-
Create a new web service with your preferred hosting provider.
-
In the service configuration, set the required environment variables:
-
OPENAI_API_KEY/other: The API key for OpenAI or other LLM -
OPENAI_MODEL/other: The preferred LLM model -
AGENT_API_KEY(optional): The Agent API key for authenticationtipWhen you create an Agent, Warden Code generates the Agent API key and stores it in the
.envfile. If you wish to disable authentication, omit this variable. -
Additional variables for Agents using x402 payments.
-
-
Set a build command:
npm run build -
Set a start command:
npm start -
Connect your repository with the hosting service.
-
Trigger the deployment if it doesn't start automatically.
Congratulations! Now your Agent and the supported API endpoints will be available on a public URL assigned by your hosting provider.
4. Verify deployment
Chat using the UI
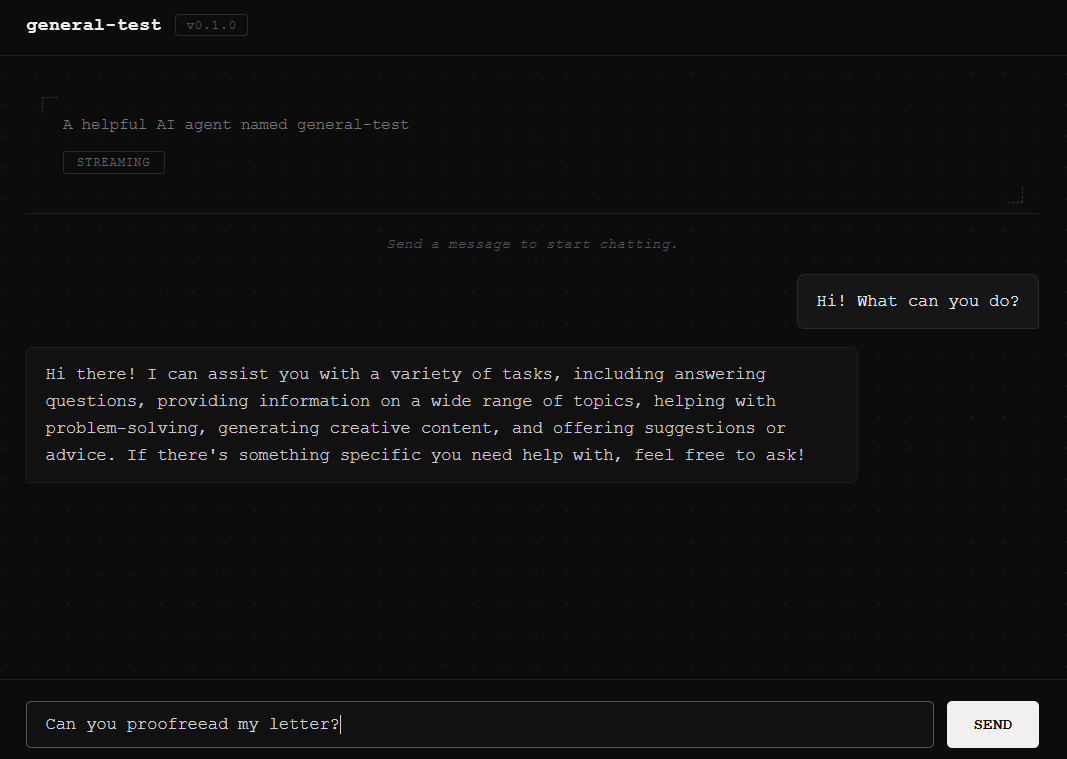
To verify that your Agent is accessible, open the public URL assigned by your hosting provider.
If everything is fine, you'll be able to chat with your Agent through the user interface provided by Warden Code:
Chat using the CLI
To chat with your Agent through the CLI, take these steps:
-
Navigate to your project's root directory and initiate Warden Code:
warden -
Enter the chat mode and specify the Agent's public URL assigned by your hosting provider:
/chat PUBLIC_URL -
Chat with your Agent. Warden Code automatically detects whether the agent supports A2A, LangGraph, or both, and prompts you to choose when multiple protocols are available.
-
To exit the chat mode, type this:
/exit
Chat using the API
Every new Agent is immediately accessible through A2A and LangGraph server endpoints exposed by Warden Code.
For a full list, see A2A endpoints & methods and LangGraph endpoints.
After deploying your Agent, you can try any of these endpoints. For example, you can prompt the Agent using the A2A POST endpoint with the message/send method.
In the request below, specify the following:
PUBLIC_URL: Your public URLAGENT_API_KEY: Your Agent API key for authentication:
- Postman
- cURL
POST PUBLIC_URL
Headers: Content-Type: application/json
Authorization: Type: Bearer Token, Token: AGENT_API_KEY
Body:
{
  "jsonrpc": "2.0",
  "id": "",
  "method": "message/send",
  "params": {
    "message": {
      "role": "user",
      "parts": [
        {
          "kind": "text",
          "text": "What can you do?"
        }
      ],
      "messageId": ""
    },
    "thread": {
      "threadId": ""
    }
  }
}
curl PUBLIC_URL \
  --request POST \
  --header 'Content-Type: application/json' \
  --header 'Authorization: Bearer AGENT_API_KEY' \
  --data '{
    "jsonrpc": "2.0",
    "id": "",
    "method": "message/send",
    "params": {
      "message": {
        "role": "user",
        "parts": [
          {
            "kind": "text",
            "text": "What can you do?"
          }
        ],
        "messageId": ""
      },
      "thread": {
        "threadId": ""
      }
    }
  }'
If everything is fine, you'll receive a response including your prompt, assistant's reply, and other data:
{
    "jsonrpc": "2.0",
    "result": {
        "id": "task-2",
        "context_id": "da79d131-143c-4154-b617-c25945774648",
        "status": {
            "state": "completed",
            "timestamp": "2026-02-09T08:03:07.107Z"
        },
        "kind": "task",
        "history": [
            {
                "role": "user",
                "parts": [
                    {
                        "kind": "text",
                        "text": "What can you do?"
                    }
                ],
                "messageId": "",
                "kind": "message",
                "message_id": "5646cc50-ae72-40a9-87e6-99477e050a4f"
            },
            {
                "role": "agent",
                "parts": [
                    {
                        "kind": "text",
                        "text": "I can assist with a variety of tasks, including but not limited to:\n\n1. Answering questions and providing information on a wide range of topics.\n2. Assisting with problem-solving and brainstorming ideas.\n3. Offering writing support, including proofreading, editing, and generating text.\n4. Providing summaries and explanations of complex concepts.\n5. Helping with language translation and learning.\n6. Offering recommendations for resources, books, or tools.\n7. Engaging in casual conversation and providing companionship.\n\nIf you have a specific request or need assistance with something else, feel free to ask!"
                    }
                ],
                "kind": "message",
                "message_id": "d187905d-2ded-41e5-87ae-db02ee011d88"
            }
        ]
    },
    "id": ""
}
Check the Agent Card
As part of the A2A protocol support, Warden Code exposes an endpoint for the A2A Agent Card, which advertises your Agent's skills, allowing other Agents and clients to discover it.
To check the Agent Card accessibility, replace PUBLIC_URL with the public URL and run this:
PUBLIC_URL/.well-known/agent-card.json
The card will display your Agent's name and capabilities, along with other information:
{
  "name": "general-test",
  "description": "A helpful AI agent named general-test",
  "url": "PUBLIC_URL",
  "version": "0.1.0",
  "capabilities": {
    "streaming": true
  },
  "defaultInputModes": ["text/plain"],
  "defaultOutputModes": ["text/plain"],
  "skills": []
}
Most likely, the url field will display the local host URL instead of the public URL. To fix this issue, update the Agent Card.
Next steps
Now you can do the following: